Start with rice that holds together
Onigiri are portions of cooked rice shaped so they can be picked up and eaten by hand. Despite the name “rice ball,” they may be round, oval, or triangular. They need no special mold, and a little unevenness is part of making them at home.
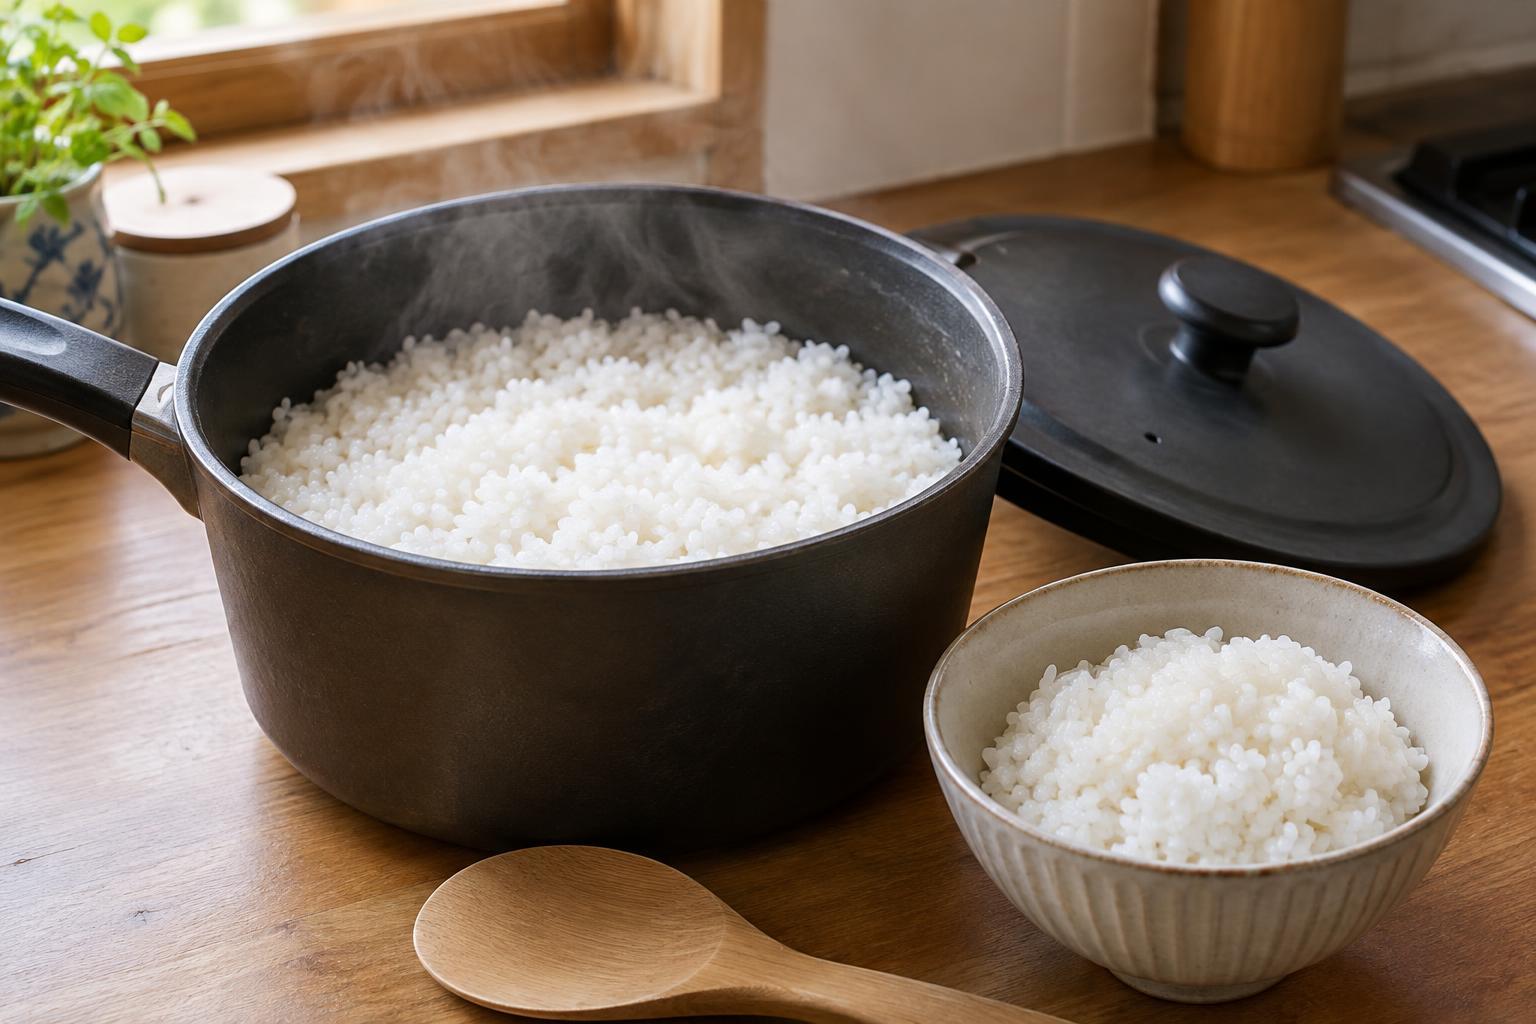
Japanese short-grain rice is a dependable choice because its cooked grains cling to one another while remaining distinct. Cook it according to the package directions, then let it rest briefly so excess steam settles. Shape it while it is still warm but comfortable to handle: cold rice is harder to form, while very hot rice can burn your hands. Set out your filling, a small bowl of water, salt, and clean hands before you begin. For a first attempt, about half a cup of cooked rice per onigiri is an easy amount to manage.
Use water and salt with a light touch
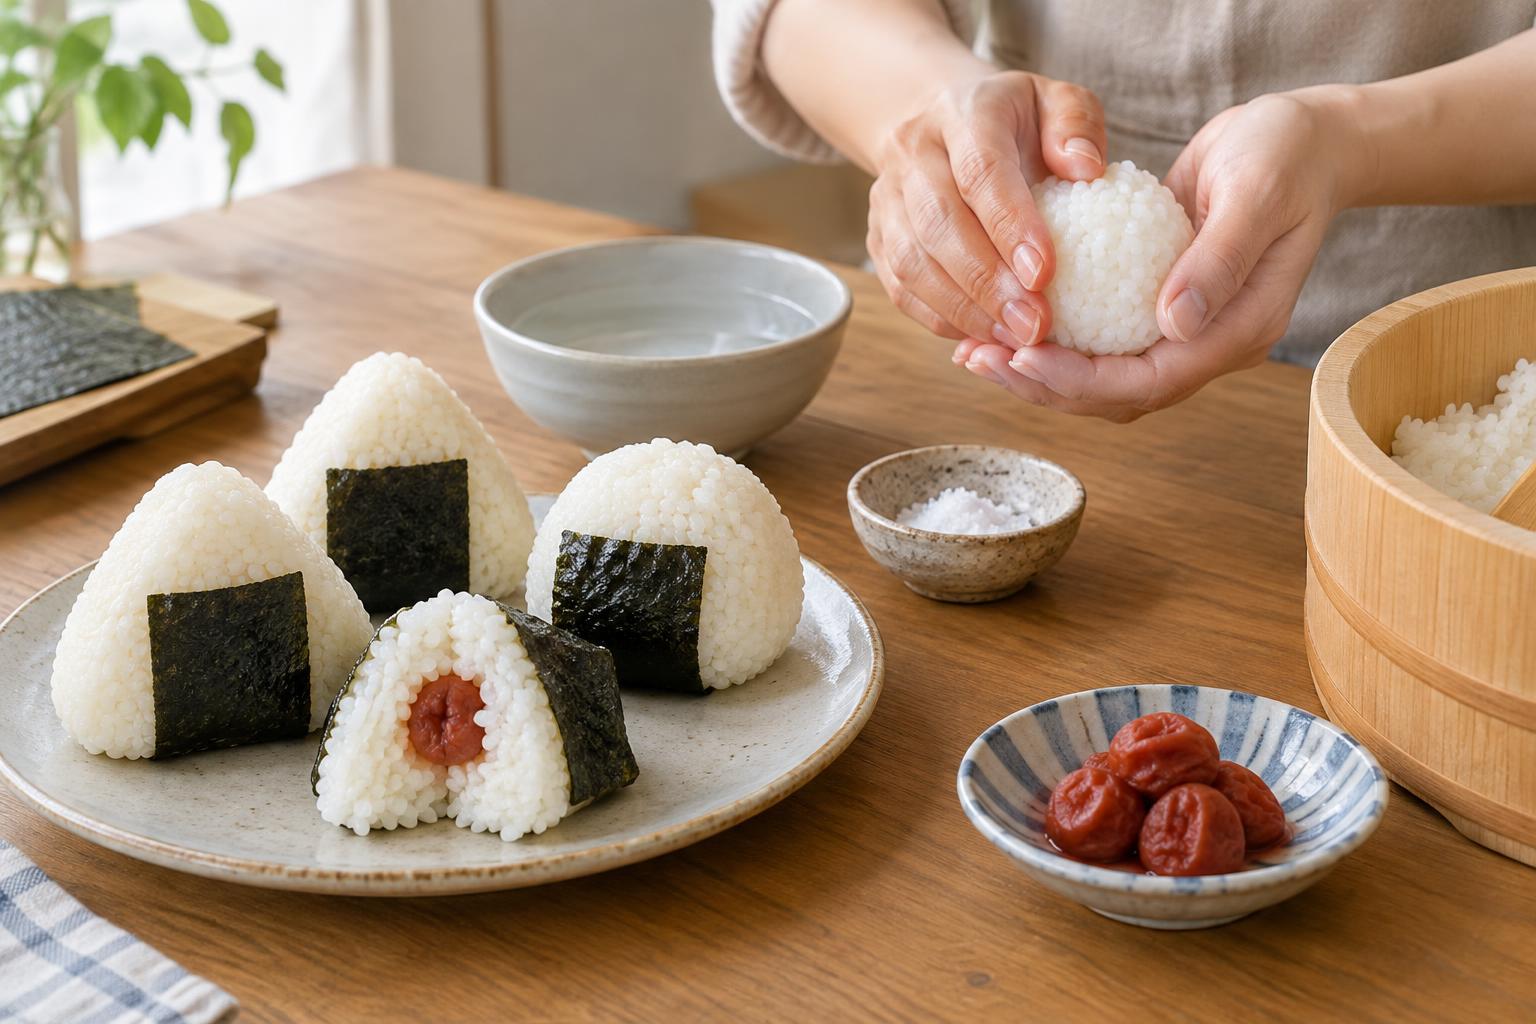
Dampen your hands with water before handling the rice. This helps keep the grains from sticking to your palms; your hands should be moist, not dripping. Rub a small pinch of salt across your palms so it seasons the outside of the rice. You can adjust the amount on the next one after tasting.
Place a portion of rice in one palm. If you are making an unfilled onigiri, bring your hands around it and press just firmly enough for the grains to hold together. Turn it and press again, repeating a few times. A tight squeeze can turn the rice dense, while too little pressure leaves it prone to falling apart. The aim is a shape that stays together when lifted but still feels tender when bitten.
Make a triangle—or skip it
To form a triangle, cup one hand beneath the rice and bend the fingers of your other hand into a gentle ridge over it. Press lightly, rotate the rice, and repeat until it has three sides. The corners do not need to be sharp. A round or oval onigiri is just as useful, especially when you are learning how much pressure to apply.
If shaping by hand feels awkward, place the rice on a piece of clean plastic wrap, gather the wrap around it, and shape through the plastic. Open the wrap before adding nori, the thin sheet of dried seaweed often used as a grip or wrapper. You can also serve onigiri without nori. It is the seasoned, neatly held rice—not a particular outline—that makes the method work.
Choose a modest filling
A filling adds a contrasting flavor without needing to take over the rice. For each portion, flatten the warm rice gently in your palm, make a small hollow, and add a teaspoon or two of filling. Bring the rice over it so the filling is covered, then shape as usual. If filling escapes, use a little less next time rather than pressing harder.
Umeboshi, a salty and sour pickled plum, gives a strong flavor in a small amount; remove the pit before using it. Flaked cooked salmon is another option. Tuna mixed with a little mayonnaise makes a softer filling, while chopped, well-drained pickles add crunch. Avoid very wet fillings, which can make the rice harder to hold together. For a simpler variation, mix a small amount of sesame seeds or finely chopped cooked vegetables through the rice instead of hiding a filling in the center.
Serve fresh and store with care
Onigiri are especially pleasant soon after shaping, when the rice is soft. Wrap a strip of nori around the bottom as a place to hold it, or cover more of the rice if you prefer. Add nori just before eating if you like it crisp; it will soften against warm or moist rice. Serve onigiri as a snack or alongside soup and vegetables for a simple meal.
Treat filled onigiri as prepared food, particularly when using fish, mayonnaise, or other perishable ingredients. Work with clean hands and utensils, do not leave cooked rice sitting out for an extended period, and refrigerate anything you are not eating promptly. Chilling firms up the rice, so onigiri are generally best made close to serving time. Once the basic shape feels familiar, experiment with one change at a time—a different filling, a lighter pinch of salt, or a new shape—to find the version you enjoy making.