Prepare components, not necessarily finished onigiri
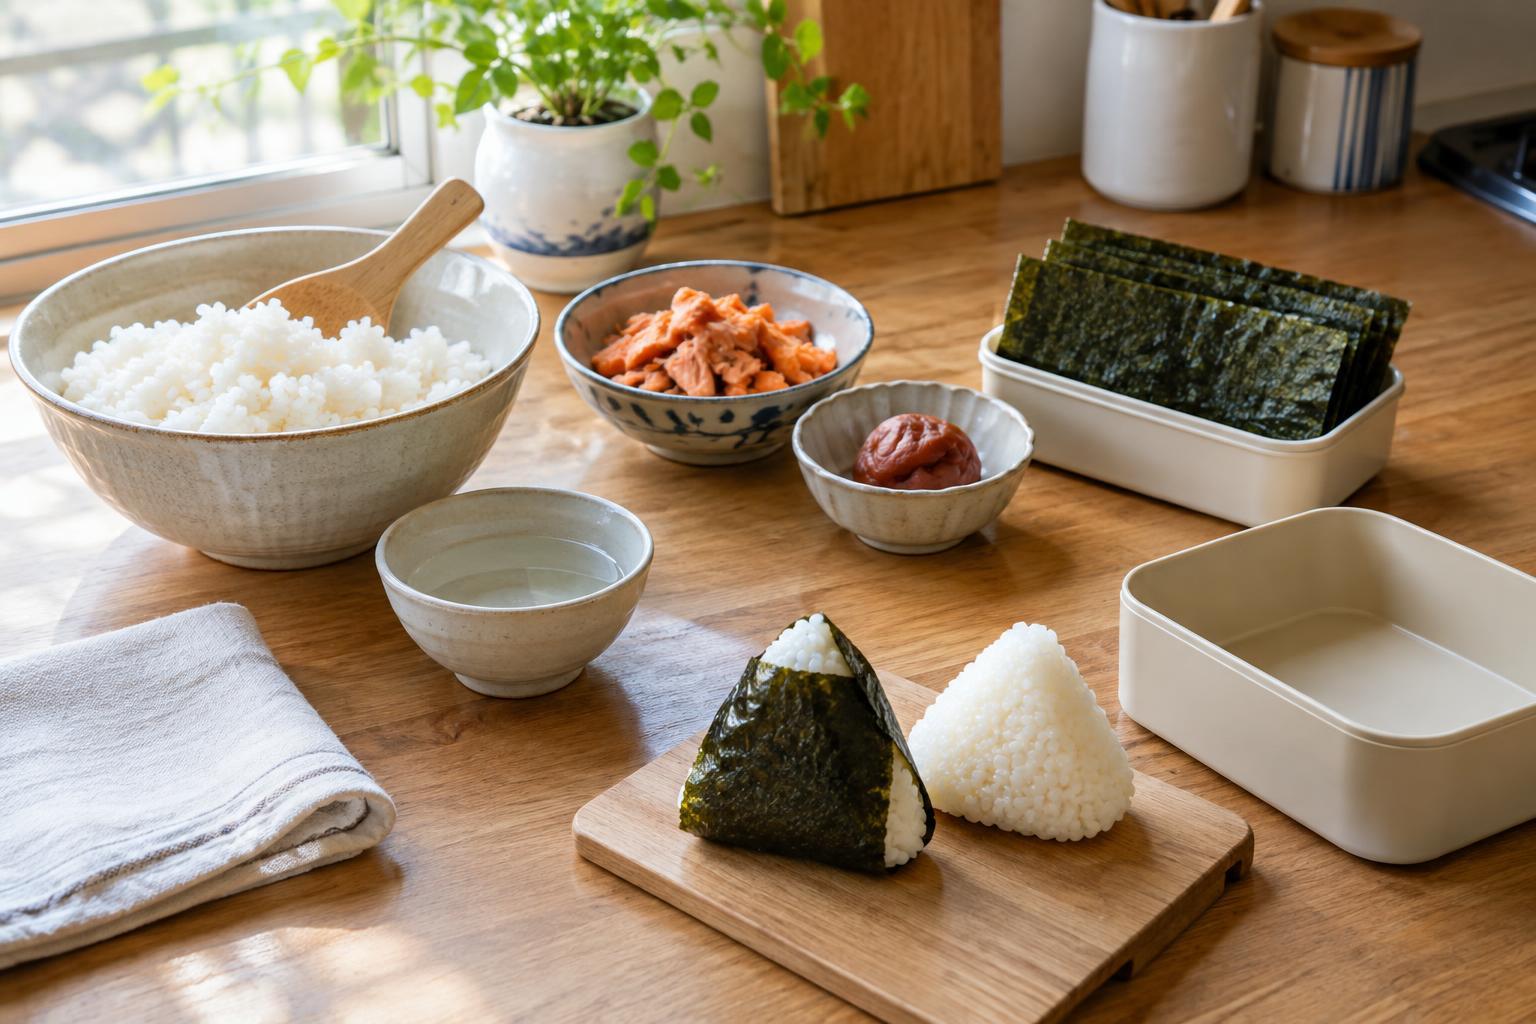
Onigiri are hand-shaped portions of rice, often with a filling tucked inside or an ingredient mixed through. They can make a convenient lunch or snack, but assembling a batch far in advance may leave the rice firm and the nori, or dried seaweed, soft. A more flexible approach is to prepare the fillings and packing supplies first, then shape the rice closer to the time you will eat it.
Start by deciding how many onigiri you want and whether they will be eaten at home, carried to work, or packed for an outing. That decision helps you choose a simple filling and a sensible assembly time. For a first attempt, make one filling rather than several. You will have fewer containers to manage and a clearer idea of how much filling each portion of rice needs.
Choose fillings that are easy to portion
A filling works best when it is flavorful in a small amount and does not release much liquid. Flaked, thoroughly cooked salmon; well-drained cooked vegetables; or a modest spoonful of a cooked, seasoned filling are possible starting points. Remove bones from fish and let cooked fillings cool before refrigerating them. Keep perishable fillings covered and chilled until you are ready to assemble.
Portion the filling into a small container or separate compartments if that makes morning assembly easier. A little goes a long way: too much filling can prevent the rice from holding together. If an ingredient is especially wet, drain it well and consider mixing it through the rice rather than placing a large mound in the center. Taste a small amount before assembly so you can adjust the seasoning without handling a finished onigiri.
Set up an efficient assembly station
Place your filling, a clean plate, a spoon, and any wrappers within reach before you begin. Freshly cooked rice is usually easier to shape while it is still warm enough to be pliable, but it should be comfortable to handle. Use clean, slightly damp hands or a clean piece of food-safe wrap to keep the rice from sticking. Divide the rice into portions first; this makes it easier to distribute the filling evenly.
To shape each onigiri, spread a portion of rice across your palm or the wrap, add a small amount of filling, and bring the rice around it. Press gently until the rice holds together. You can form a triangle or a round shape; a firm seal matters more than an exact outline. If you like crisp nori, pack it separately and add it just before eating. A strip attached during assembly will gradually absorb moisture from the rice.
Pack for the time between assembly and eating
Think about storage before you start shaping. Rice and perishable fillings should not sit out for extended periods. If the onigiri will not be eaten soon, cool and refrigerate them promptly, following appropriate food-storage practices for your ingredients. For a trip, use an insulated bag with cold packs when the filling or travel time calls for chilled storage. Refrigeration can make rice firmer, so consider whether assembling shortly before departure is practical rather than making the finished onigiri the night before.
Keep the packing simple: place each onigiri in clean wrap or a suitable container, and carry separate nori in a dry packet. If you are choosing a place to enjoy a packed lunch, browse Lakeside Destinations · Lakeside Weekend for outing ideas before deciding how much to carry. You can also browse Lakeside Weekend for broader weekend inspiration while planning when to prepare and pack your meal. The most useful routine is the one that fits your schedule: prepare a modest filling ahead, cook rice when convenient, and assemble only as many onigiri as you expect to eat.