Start with the knife and the right stone
A sharp knife makes everyday prep feel easier, whether you are slicing scallions for miso soup or cutting vegetables for a simmered dish. A whetstone removes a small amount of metal to restore the cutting edge. It takes practice, but you do not need a large collection of stones to begin.
First, check what kind of edge your knife has. Many Japanese-style home kitchen knives are sharpened on both sides. Some traditional knives have a single-bevel edge and a distinct, nearly flat back; they require a different approach. If you have a single-bevel knife, follow the maker’s guidance or learn its particular geometry before sharpening. The steps below focus on a double-bevel knife.
For routine sharpening, a medium-grit stone is a useful starting point. A coarse stone can help repair a very dull or damaged edge, while a finer stone refines an edge that is already sharp. Grit labels vary between makers, so choose a stone based on its intended use rather than the number alone. Check its care instructions, too: some stones need soaking, while others are meant to be used with a splash of water.
Set up a stable, clean workspace
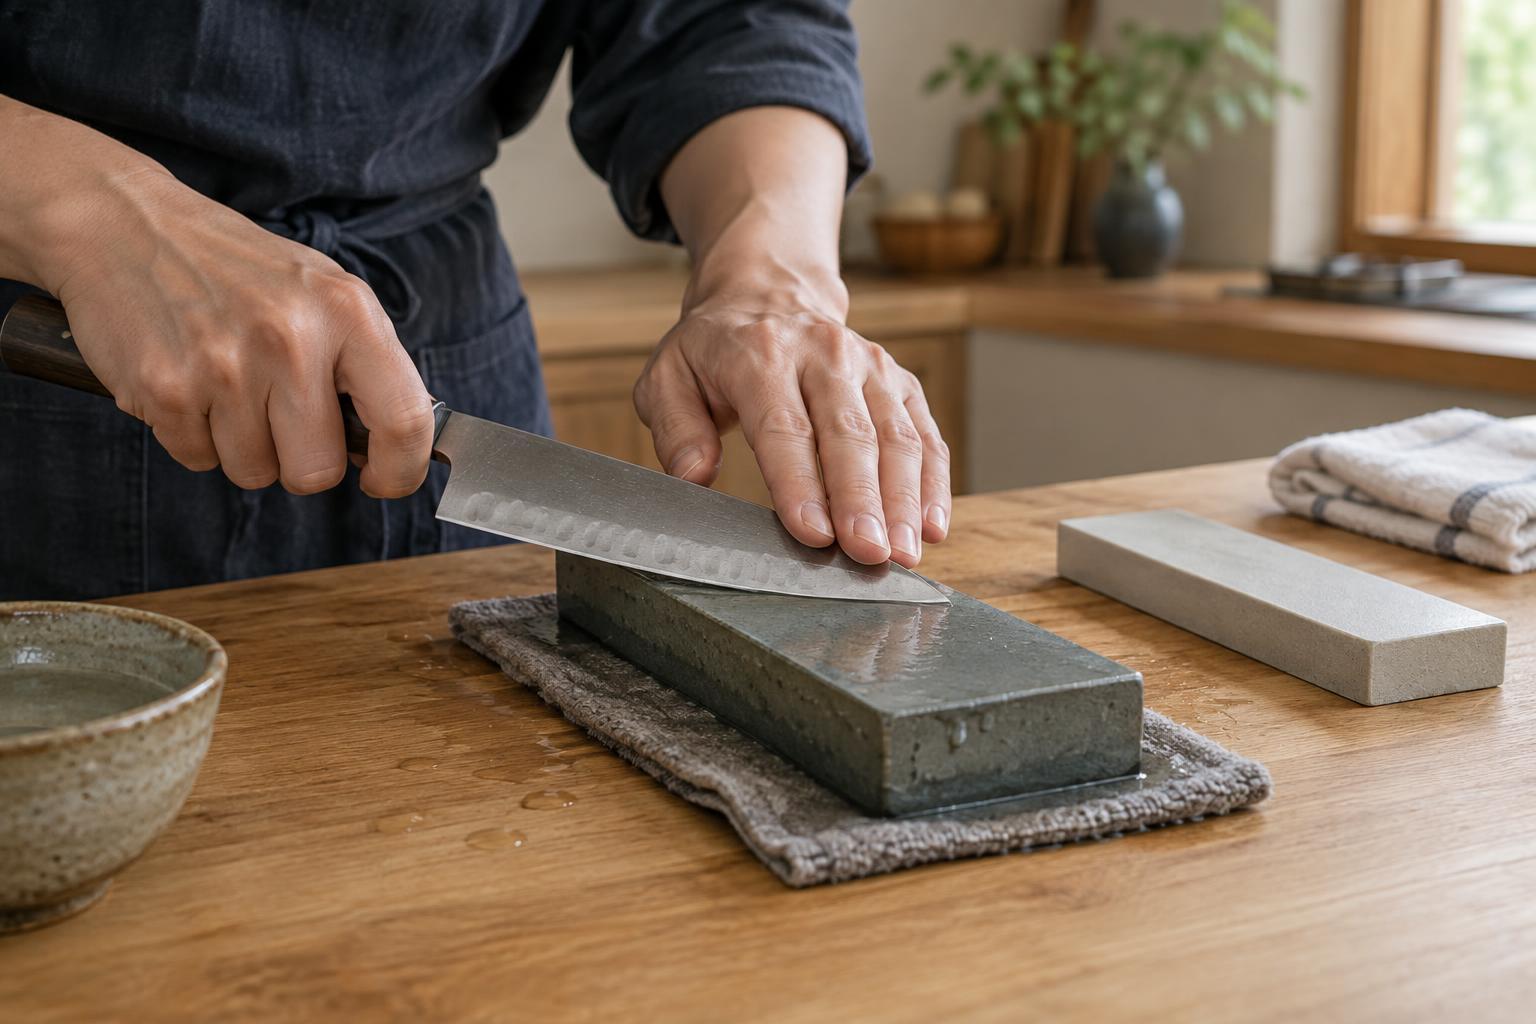
Put the stone on a nonslip base or a damp towel over a firm counter. Keep water, a cloth, and a clear place to set the knife within reach. Wet the stone as its maker directs, and keep its surface wet during sharpening. A little slurry—the mixture of water and stone particles that forms as you work—is normal.
Dry the knife handle and your hands before you begin so you can hold the knife securely. Work slowly, with the edge facing away from fingers that are supporting the blade. Move the knife deliberately and keep your other hand off the path of the edge. If the stone slides, stop and fix the setup before continuing.
Find the angle and sharpen one side
Lay the blade on the stone, then raise its spine slightly to match the existing bevel. For many double-bevel Japanese kitchen knives, this is a relatively low angle, but there is no single angle that suits every blade. Looking closely at the bevel, or following the maker’s recommendation, is more reliable than forcing a particular measurement. The goal is to hold the angle consistently through each stroke.
Starting near the heel, move the edge across the stone so the section you are working on travels along the stone’s surface. Use light to moderate, controlled pressure. Shift your position along the blade until you have worked from heel to tip, following the curve of the edge. You can sharpen in short sections rather than trying to cover the whole knife in one motion. Keep the stone wet, and avoid pressing hard to speed things up.
Continue on the first side until you can feel a slight burr along the opposite side of the edge. A burr is a thin lip of metal created as the new edge reaches the other side. Check carefully by moving a fingertip away from the edge, never along it. If the burr appears at the heel but not the tip, spend a little more time on the unfinished area instead of sharpening the whole blade indiscriminately.
Sharpen the other side and refine the edge
Turn the knife over and repeat the process at an angle that follows its existing bevel. The two bevels may not be identical, so pay attention to the knife in your hands rather than assuming perfect symmetry. Work until the burr moves back to the first side. Then make several gentle, alternating passes, reducing pressure as you go. This helps remove the burr instead of bending it back and forth.
If you have a finer stone, use it after the medium stone with light pressure to refine the edge. A finer stone is optional for a useful home-cooking edge; it cannot replace the work of forming an edge on a dull knife. To check your result, try a careful cut through a piece of paper or a vegetable you are preparing. If the knife catches or struggles in one spot, that part of the edge may need more attention. Avoid testing sharpness against your skin.
Care for the knife and the whetstone
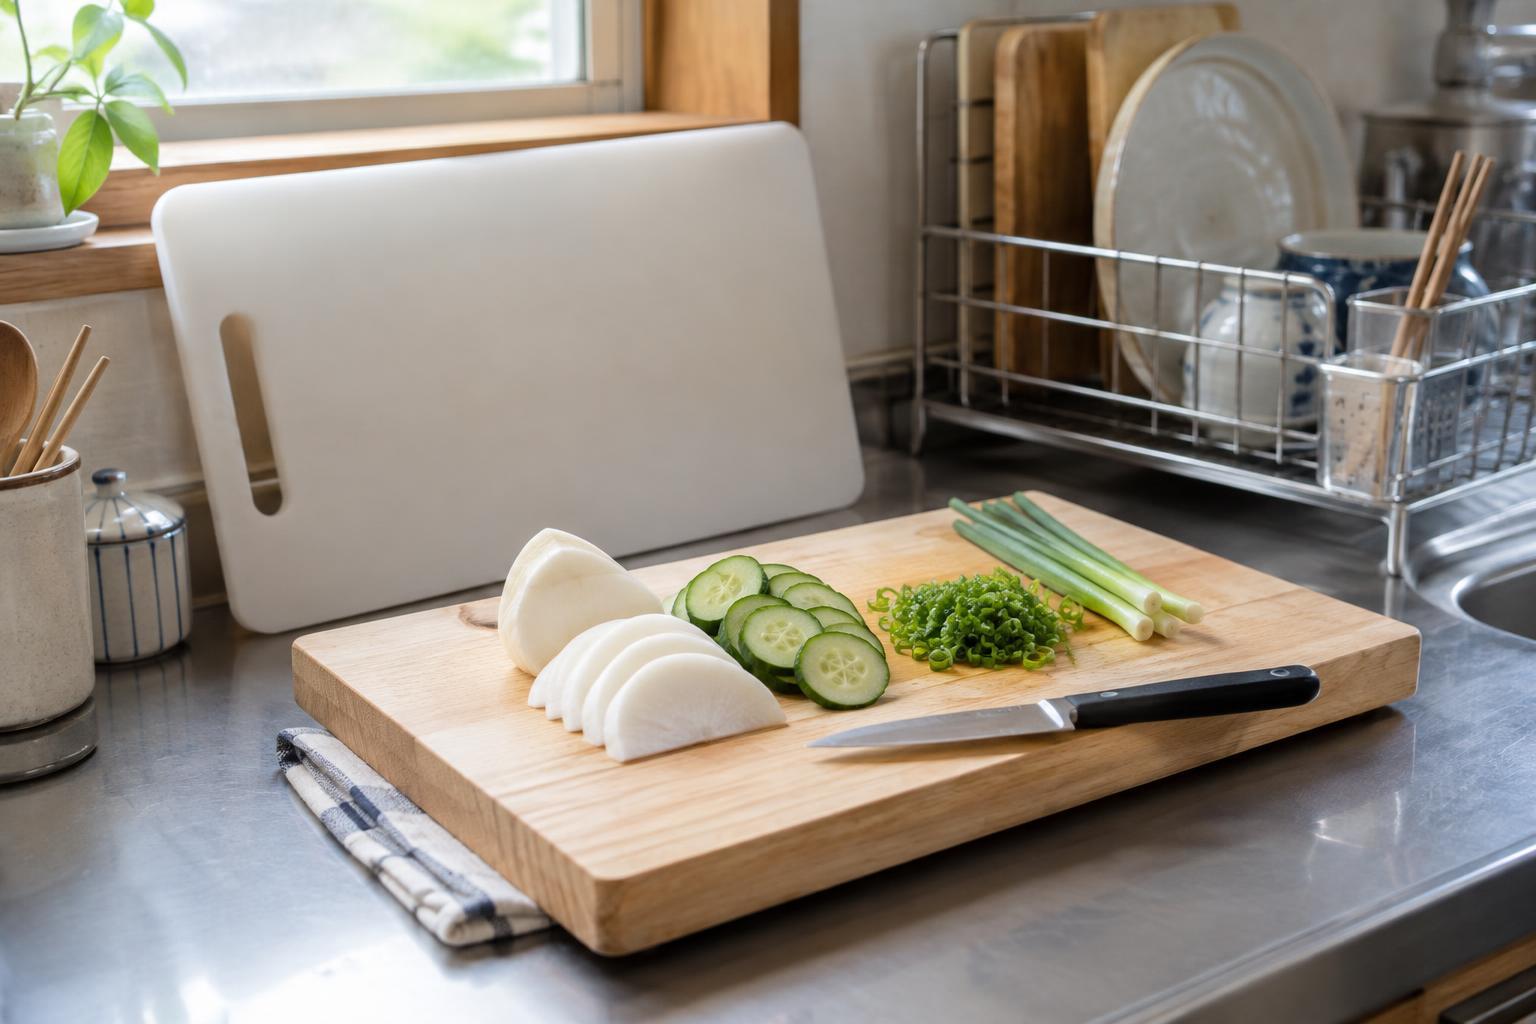
Rinse away sharpening residue, wash the knife as appropriate for its handle and blade, and dry it thoroughly before storage. Wipe the blade soon after cutting acidic foods, especially if it is carbon steel, which can discolor or rust more readily than stainless steel. Store the knife so its edge does not knock against other utensils. A cutting board made for kitchen knives will also be kinder to the edge than a hard plate or countertop.
A stone gradually wears into a hollow where you sharpen most often. An uneven surface makes it harder to maintain a consistent angle, so check it periodically and flatten it with a tool suitable for that stone. Clean and dry the stone according to its maker’s instructions before putting it away. With a steady setup, light pressure, and attention to the existing bevel, each sharpening session becomes easier to judge.